Laying Tiles in a Herringbone Pattern – How to Do It Correctly?
Laying Tiles in a Herringbone Pattern – How to Do It Correctly?
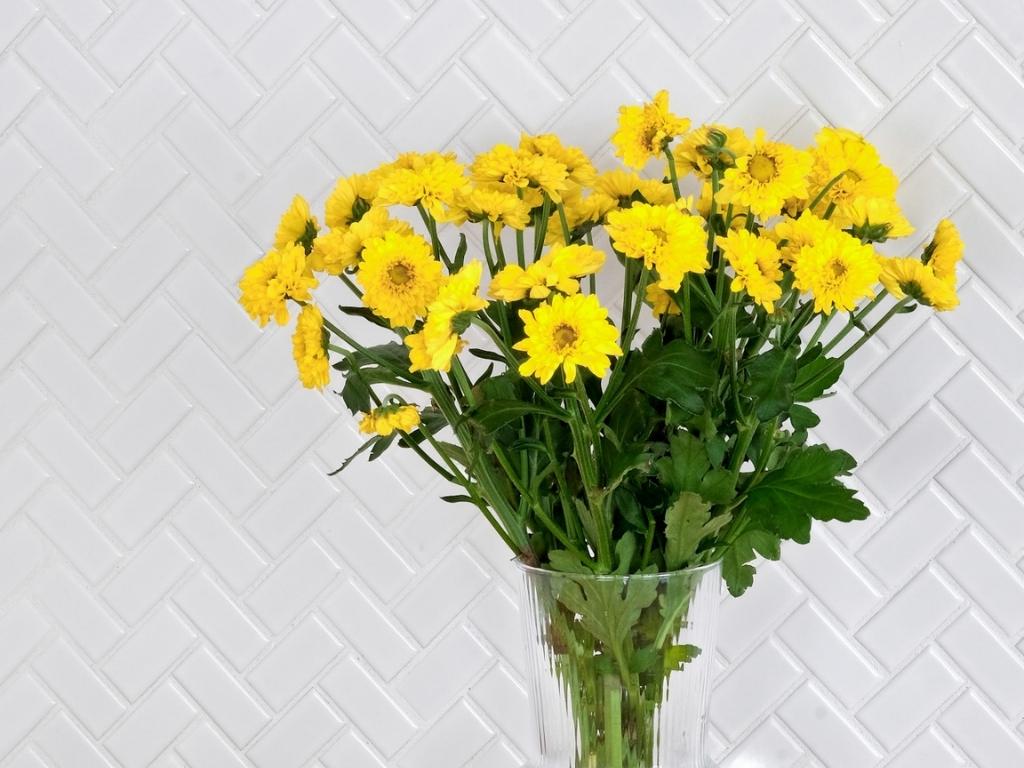
Herringbone is a timeless pattern that is making a strong comeback in interior design. The wide range of materials available on the market allows for the creation of a truly unique design. Wood, vinyl panels, brick, ceramics – everyone will find something for themselves. Tiles arranged in a herringbone pattern can decorate both walls and floors. Check out our guide, where you will learn step by step how to arrange herringbone tiles in your home.
Rules for Arranging Herringbone Tiles
To properly arrange herringbone tiles on the selected surface, you need to prepare accordingly. Purchasing the tiles is just the beginning of the tasks ahead of you. Cleaning the surface, leveling it, drying, and thoroughly dusting are essential steps without which we do not recommend starting the tile installation. Cutting, gluing, and grouting are the next stages that will bring you closer to enjoying the unique final effect. If you plan to use herringbone in your interior design, it's worth considering which arrangement will suit you best – classic herringbone, French herringbone, or perhaps Hungarian herringbone?
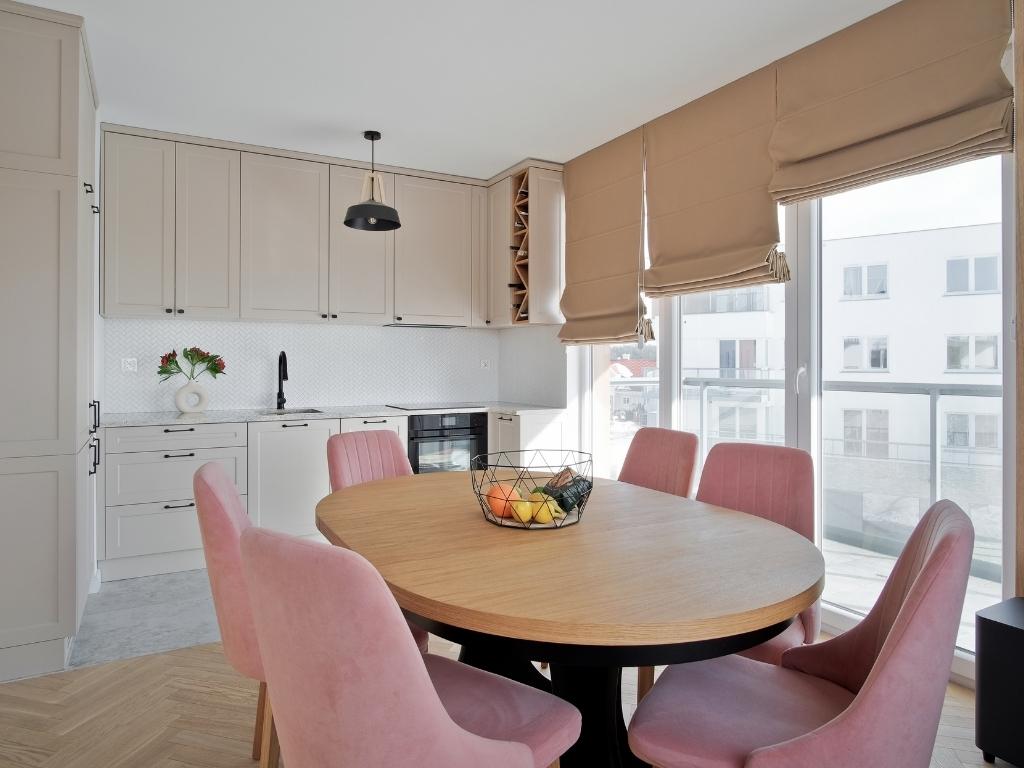
Herringbone Tiles – Origin
The first encounter of humans with the herringbone pattern in art appeared in antiquity, specifically on ancient ceramics. The popularity of the herringbone pattern as a floor covering began to rise in the 16th century, during the reign of the influential French king Francis I, who played a key role in the development of French architecture. This distinctive arrangement was regarded as a symbol of luxury for good reason. The wood used to create this characteristic pattern was considered a luxurious and expensive material. A floor decorated with herringbone is incredibly elegant and timeless, remaining so to this day, regardless of the chosen herringbone design.
Rules for Arranging Herringbone Tiles – Classic, French, or Hungarian?
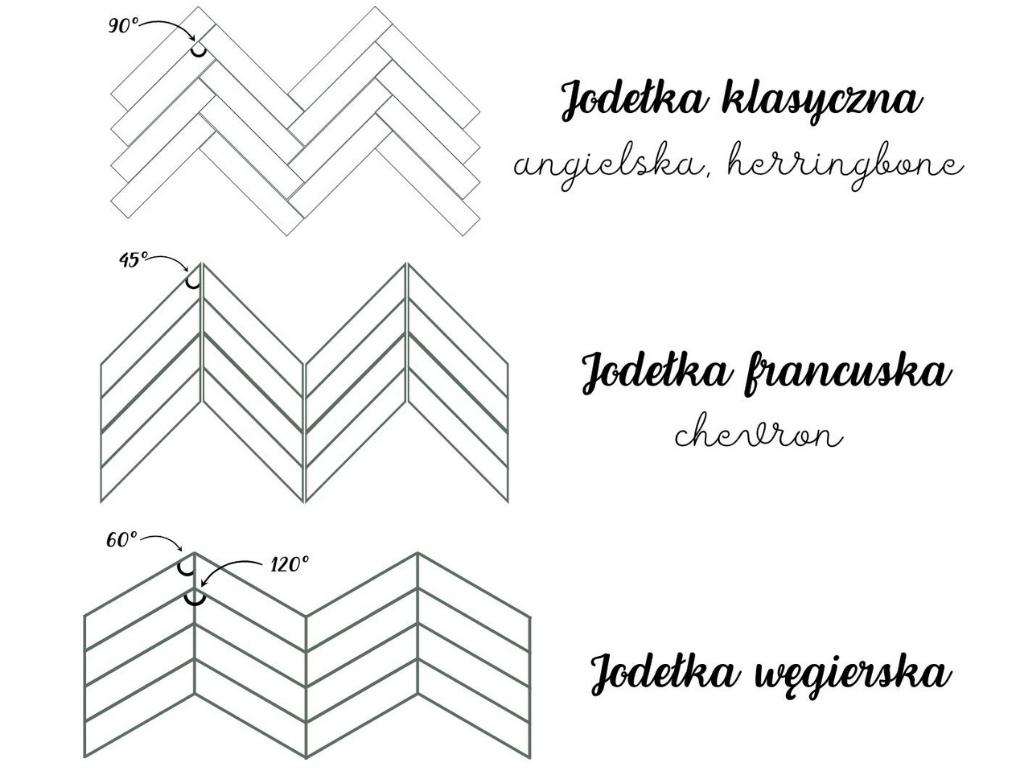
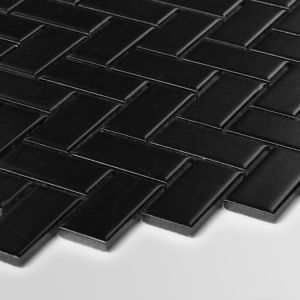
Classic Herringbone (English: Herringbone, French: Batons rompus – broken sticks) is the oldest and most popular pattern in Europe among the ones you'll read about in this article. The English herringbone pattern is arranged as follows: the shorter side of one tile touches the longer side of the next tile to form a 90° angle. The tips of the tiles do not touch each other directly. The classic herringbone also includes single, double, and triple variations. The design possibilities for classic herringbone are endless; when made of wooden planks, it will be the pride of any living room. Meanwhile, herringbone made from tiles works well in any room, even with underfloor heating. As a wall decoration, it will beautifully enhance many a boho or rustic kitchen.
French Herringbone (English: Cheron) is an arrangement characterized by symmetrical placement of tiles along the shorter edge, which have been cut at a 45° angle. The French herringbone pattern resembles an arrowhead and is softer than the classic arrangement. The delicacy of the pattern is its greatest advantage. Chevron looks extremely stylish, which has made it more popular than the classic pattern in current interior design trends. The dynamic arrangement of the tiles adds character to the interiors, visually elongating the space. French herringbone floors are increasingly seen in modern, glamour, Scandinavian, minimalist, and even raw designs like Japandi and Wabi Sabi styles.
Hungarian Herringbone (English: Hungarian point, French: Point de Hongrie) is an arrangement similar to the French herringbone, with one exception: the edges meeting at the tip are cut at a 60° angle, meaning the tiles form a Hungarian herringbone pattern at a 120° angle. The softer arrangement compared to its predecessor will appeal to those who want an unusual floor but don't want it to be as bold as the classic herringbone. Hungarian herringbone visually enlarges the space. Arranging tiles in herringbone works well in English, French, Victorian, and Hampton styles.
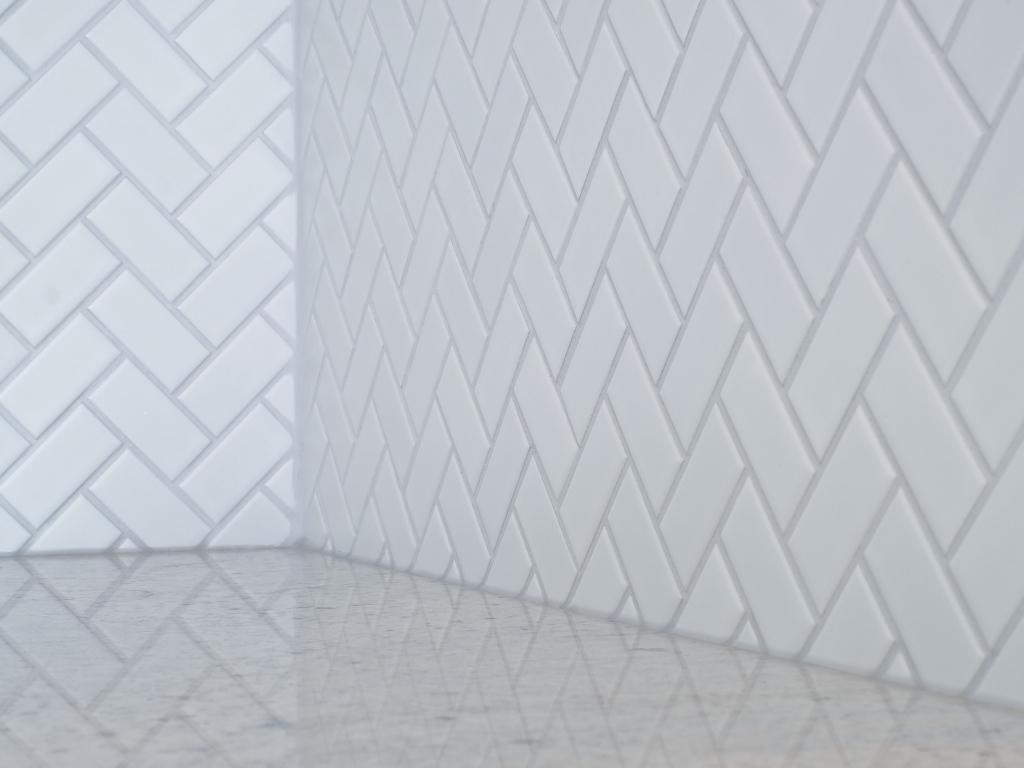
Arranging Herringbone Tiles – Step by Step
In this part of the article, we offer advice on how to arrange herringbone tiles. It is very important to determine the direction in which the tiles will be arranged during the planning process. The angle of natural light and the layout and size of the room will certainly help you. Arranging the herringbone along the longer wall will elongate the room, while arranging it along the shorter edge will make the interior appear wider. In this case, you should seriously consider whether such a time-consuming process is worth it due to the numerous cuts needed. Our advice: choose Hungarian herringbone, as its gentle angle will visually enlarge the room.
When purchasing the desired material for laying herringbone make sure to account for extra stock in case of poorly cut tiles or warping of the boards that may appear after several years. You can’t be sure that this specific model will still be available when you unexpectedly need even a single small piece. We recommend having an additional 10% of the purchased material as a reserve.
Arranging Herringbone Tiles – How to Start Placing and Cutting Tiles
Marking the center of the width of the surface being tiled and doing a "dry" trial layout will help you visualize how the herringbone will look in the interior. Remember to use spacer tiles to maintain proper grout lines. The location where the tiles are laid is also important, as a herringbone layout on the wall is additionally affected by weight and gravity.
After the initial tile placement, you can begin cutting the tiles. At this point, a pencil, washable marker, and tile cutter will be necessary. Use the pencil or marker to mark the parts of the tiles that won’t fit entirely on the surface. Before you start cutting, familiarize yourself with the following definitions:
Rectified tiles - tiles with very precise size, straight edges, and 90° angles. Rectified tiles can be laid without grout, though a minimum grout width of 1.5–2 mm is recommended.
Calibrated tiles - tiles with thinner, rounded edges. Calibrated tiles may have minimal size differences. Ceramic mosaics are most often categorized as calibrated tiles.
Rectified tiles can be cut using a tile cutter. The edges after cutting should be smoothed with sandpaper or a file. Calibrated tiles are recommended to be cut using an angle grinder or special water-based machines, as the edges need to be beveled at a 45° angle. This is a time-consuming process, and you must be extremely careful not to damage the tile glaze. If you are inexperienced in such tasks, we recommend hiring a professional.
Arranging Herringbone Tiles – Surface Preparation and Tile Adhesion
Before applying the adhesive mortar, the wall surface must be cleaned, as it is responsible for the adhesion and attachment of the tile to the substrate. Remove dust and debris with a vacuum cleaner, while any remaining glue residue and grease stains should be wiped with water and detergent. After cleaning the surface of loose and brittle layers, the substrate should be primed. Priming improves the adhesion of the glue, and the tiles will adhere more securely to the wall or floor. Additionally, priming the space under the tiles protects the tiles from future cracking and chipping.
Next, we move on to gluing the tiles. Mix the adhesive mortar according to the instructions, ensuring proper care. The right proportion of dry mix ingredients and water affects the properties of the glue. Adding too much water weakens the adhesive, reduces its grip, and extends the setting time. Mix the mortar carefully to ensure no lumps remain – the adhesive should form a smooth paste. Our advice: wait a few minutes after preparing the mortar and mix it again.
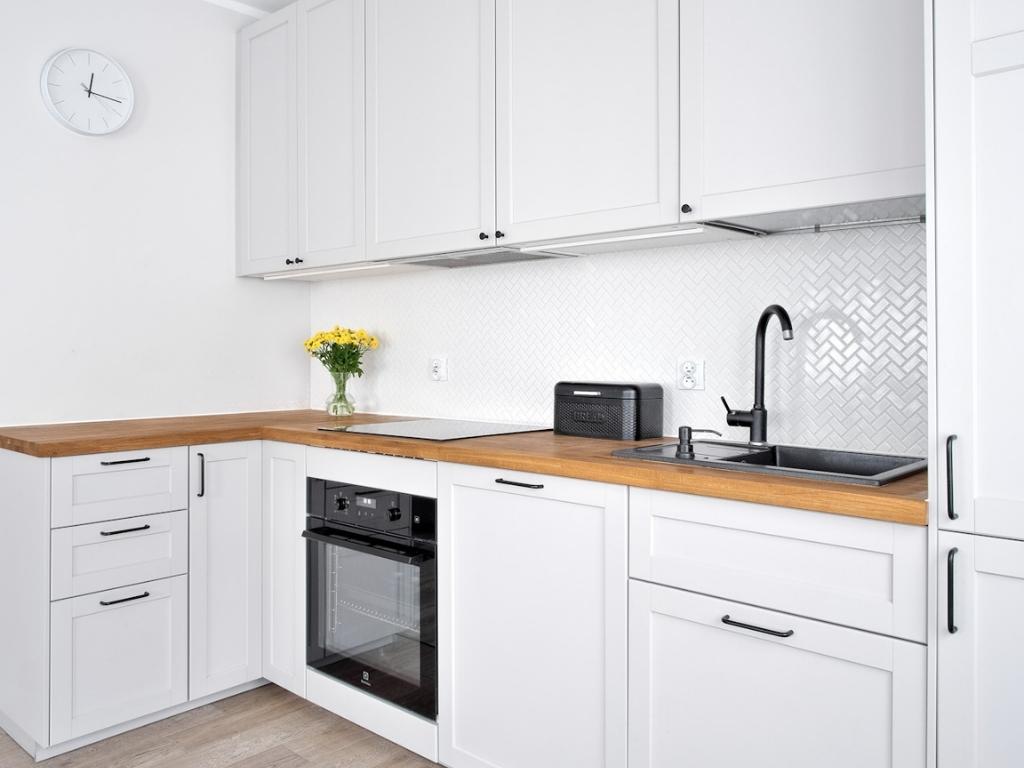
The combined method is recommended for use when gluing. It involves covering both the surface and the back of the tiles with adhesive. When the glue starts to ooze out from under the tile and begins to cover its edges, it’s a sign that the amount of adhesive applied is appropriate. It’s safer to apply excess glue than too little, as insufficient glue may cause the tiles to come loose. Remember, tiles should be glued from the bottom upwards, and any excess glue should be removed from the tiles. Secure the glued tiles with special spacers, placing them between the edges of the tiles.
After waiting the appropriate amount of time for the adhesive to set, you can begin grouting. In this case, a rubber float will be helpful, as it, held at a 45° angle, will most effectively reach every gap between the tiles. Remove excess grout using a special float soaked in cold water, about 20 minutes after applying the grout. After about an hour, begin profiling the grout. The flexible material should be profiled using a damp, well-wrung sponge, rinsed in water with detergent. Finally, use a damp float to clean the grouted surface.
Expert Advice: Interior Styles and Laying Tiles in Herringbone
Tiles laid in a herringbone pattern will find admirers in every interior style. Properly selected colors, textures, and decorative elements can create incredibly beautiful and functional interiors. It is worth noting that each herringbone pattern influences the specific character of the space.
English Herringbone in the form of flooring will create a warm, cozy atmosphere with its characteristic layout. Dark wooden tones of the boards will complement the blue kitchen cabinetry with marble countertops and golden handles. Wooden stools, next to an old wooden dresser, will create a perfect color combination for the herringbone pattern.
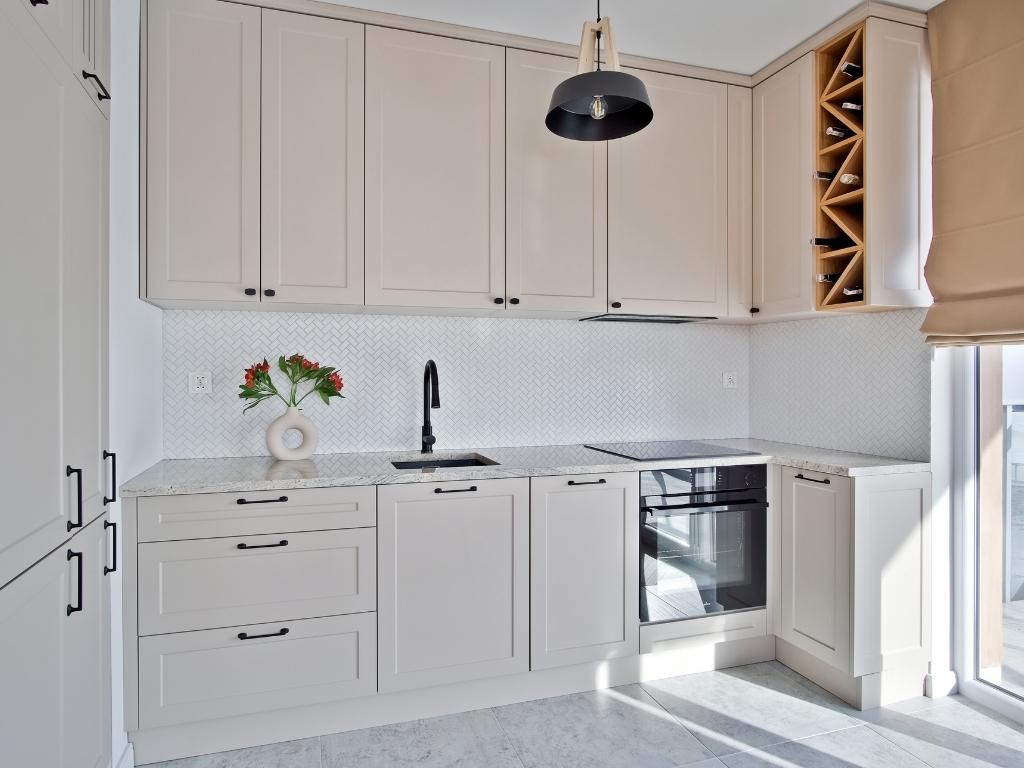
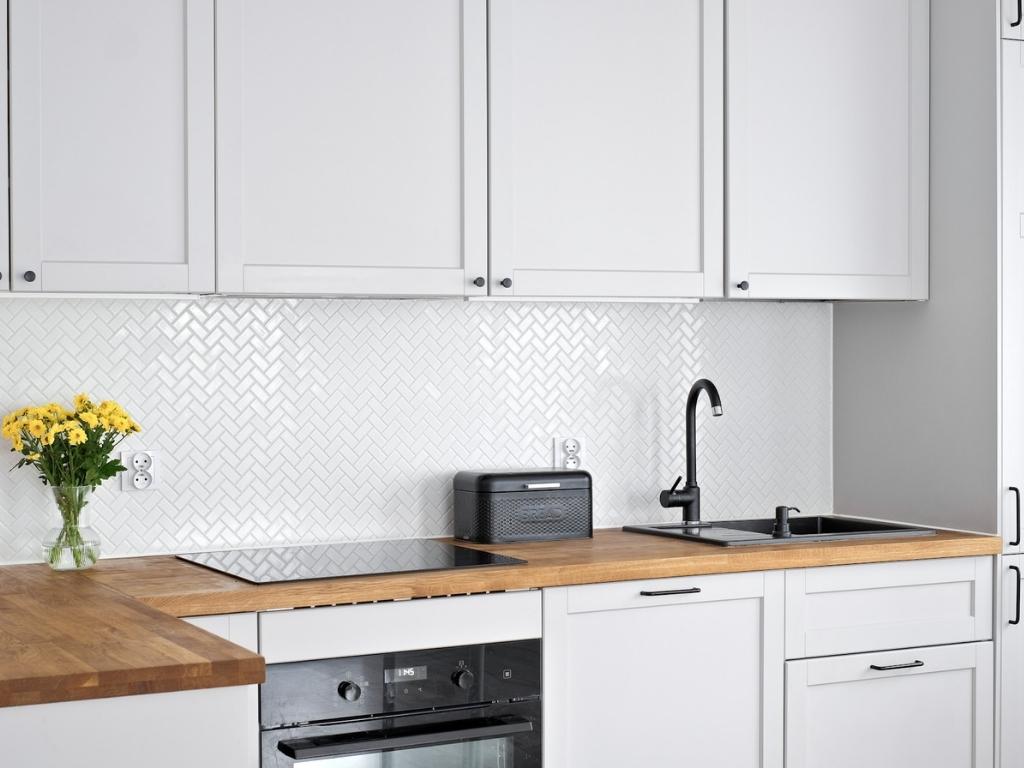
On the other hand, Classic Herringbone laid with ceramic tiles as a kitchen backsplash is an ideal idea for a Modern Farmhouse-style kitchen. White, classic herringbone, surrounded by black kitchen cabinetry with heavy handles, a wooden kitchen island, a chimney-style hood, and a farmhouse sink will give the interior a rural, pleasant atmosphere.
French Herringbone is an option for lovers of stylish, elegant, and exclusive interiors. A floor made of white ceramic tiles or those mimicking light wood, white furniture, golden accents, glass lamps, and ubiquitous marble is an arrangement proposal straight from a seaside estate. Light and fresh, like a breeze over the sea.
Hungarian Herringbone is a proposal for small or narrow rooms, whose gentle angles will visually widen the space. A bathroom with decorative herringbone on an entire wall, illuminated by sunlight, will make the space appear larger. Wooden Hungarian herringbone in a Victorian kitchen, full of greenery, gold, and brass on the furniture and accessories, is an inspiration that is easy to dream about.
How to Lay Tiles in Herringbone – Summary
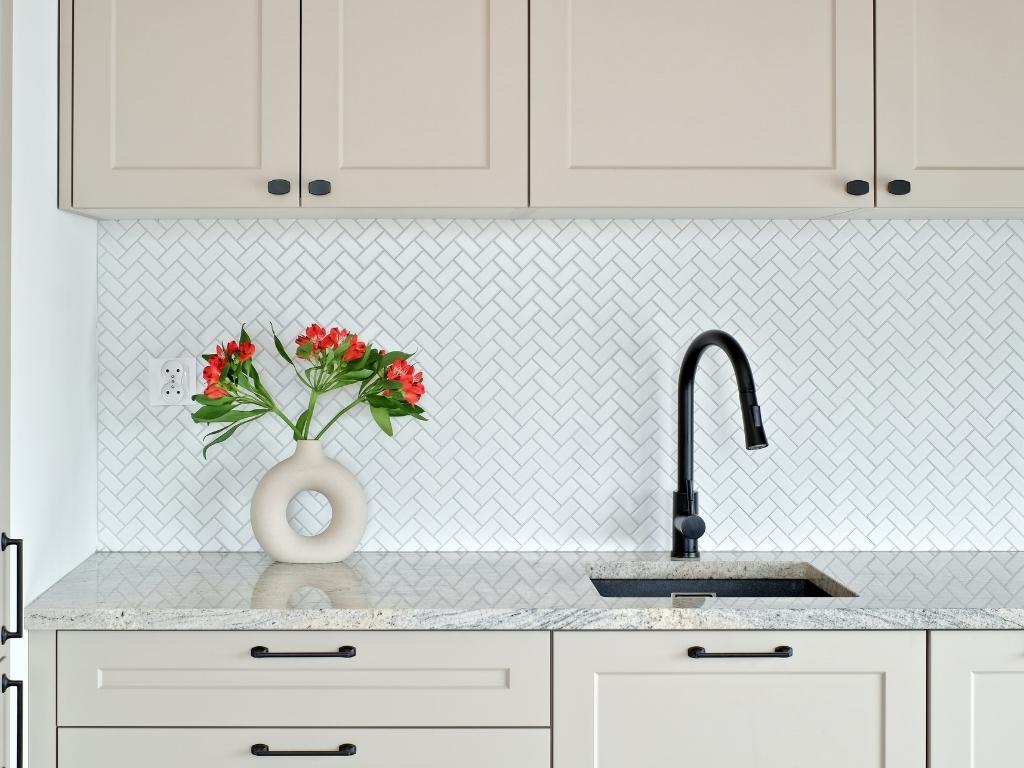
Laying tiles in herringbone is not a big problem if the interior is properly prepared for the entire process. The classic, French, and English herringbone patterns are three designs that will enhance your interior. Cutting tiles, gluing, and grouting are just a few of the processes you'll go through when laying tiles. You can find beautiful ceramic tiles on the Raw Decor website. Small herringbone, tiles from the Metropolis collection, and Herringbone XL are some of the products you can find in the offer. Get inspired and bring luxury to your interior today!
RECOMMENDED PRODUCTS:


