Laying wall tiles in the kitchen or bathroom may seem like a difficult and unrewarding task at first glance. Nothing could be further from the truth. We will soon reveal a few tips that will make laying wall tiles simple and enjoyable. We start with...
The key is – thorough substrate preparation
So that we can enjoy the sight of the tiles that will adorn our walls for a long time, we must get rid of all dirt from the substrate. So, first of all, we remove dust (an ordinary vacuum cleaner will work perfectly here), grease, or remnants of previous work's veneer.
The substrate on which we mount the ceramic lining must be stable. If we take care of this aspect of our work, we will be sure that the tiles will be firmly attached to the substrate and we will not have to worry that they will detach and, what's worse, crack in the near future. What do we need to do to make our substrate stable? It's simple! Just remove any layers that are flaking and brittle, and also get rid of any unevenness. When removing minor irregularities, a leveling mortar will work perfectly, while self-leveling screed will cope perfectly with larger losses or protrusions. Note: its thickness cannot exceed 1.5 cm!
A strong matter: gluing
Cement mortars, which were used in the past, have been replaced by adhesive mortars. And thankfully. Just mix them with water and you're done! However, there is a small but... The matter of adhesive mortar is not as obvious as it seems. Firstly, we need to choose the right adhesive. Secondly, strictly follow the instructions on the packaging. Improper mixing of the substance, preparing it “by eye”, threatens disaster in the form of detachment and damage to the tiles. We reveal that in stores you can get quick-setting mortars, which are characterized by good adhesion, and consequently, do not run down the walls, which is invaluable in the case of wall tiles.
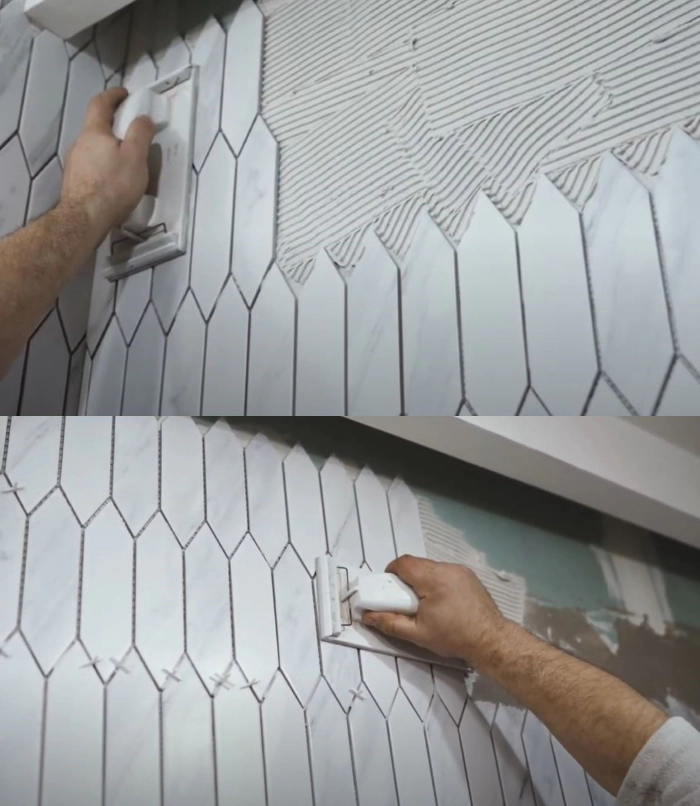
Okay, we already have a leveled, dry, and smooth substrate. We have already prepared the adhesive mortar, so it's time for the main activity, which is: laying tiles. We start the work by evenly spreading the adhesive on the substrate. A rubber trowel will be necessary for this activity. Its smooth side is used to apply the adhesive to the substrate. On the other hand, we spread the mortar on the surface with the trowel's teeth. Note: not all teeth are equal: depending on the type of tiles, manufacturers offer us trowels with different teeth sizes. If we want our walls to be decorated with large tiles, let's choose a trowel that has larger teeth.
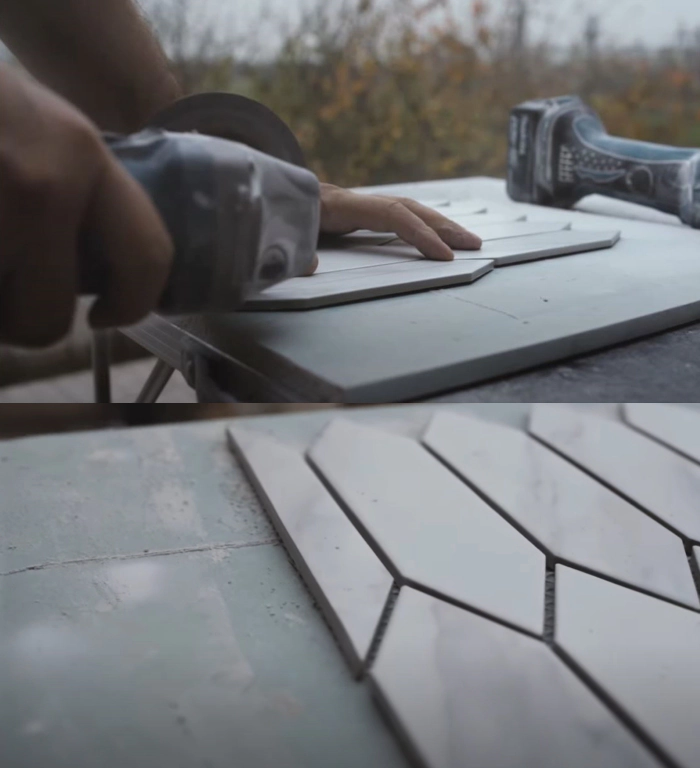
Haste makes waste: or the pace of tile installation
Haste makes waste. Yes and no. Time matters in tile installation. The clock starts ticking immediately after applying the adhesive mortar, which dries very quickly (10-30 minutes). To protect yourself from excessive haste, apply the adhesive to a small area: especially when you are laying tiles for the first time and, for obvious reasons, you spend more time on this activity than a tiler with 30 years of experience. If you notice that the mortar has dried before the tiles are applied, all is not lost. However, you need to scrape off the layer of adhesive and apply it again. And, do not accidentally spray the mortar with water: that's not the way. Special crosses work fantastically in laying tiles, thanks to which you can adjust the size of the grout lines. Remember: after laying the tiles, you need to let them rest. We start grouting 1-2 days after gluing the tiles.